Bil H
Posts: 1996
Joined: 4/24/2003
From: Fredericksburg Virginia
Status: offline

|
Tentative Plan
Battle Planning: My philosophy is to never develop a final plan until I have an estimate of the enemy situation.
“The time to take counsel of your fears is before you make an important battle decision. That's the time to listen to every fear you can imagine! When you have collected all the facts and fears and made your decision, turn off all your fears and go ahead!”
George S. Patton
In the above quote, Patton is describing the OODA Loop, though of course John Boyd’s description and breakdown of his now famous loop was still decades away.
OODA Loop (Observe-Orient, Decide-Act) - In the OODA loop the Observe-Orient components never stop, from the battle kickoff to the end. They are always running, and all enemy interactions and sightings feed Observe-Orient which add to the picture a commander has of his battle space making their decisions easier, faster, and more intuitive.
If you can beat your opponent to “understanding the situation” then your OODA Loop will cycle at a much higher pace than theirs and your decisions will be more effective and they will be at least one step behind, which is a bad place to be in a fast paced combat zone.
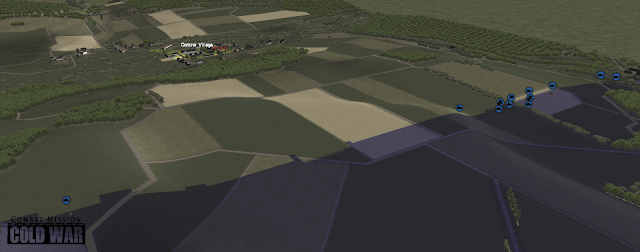
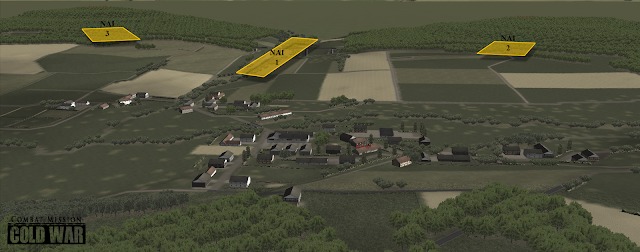
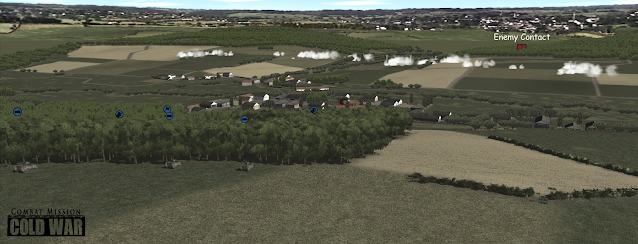
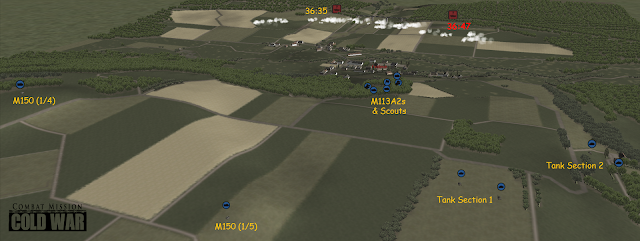
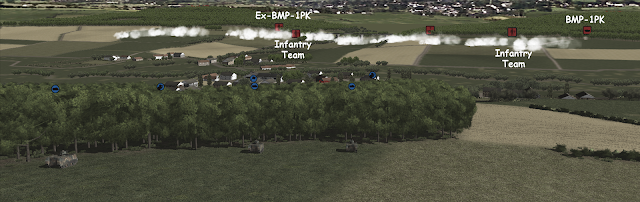
For this battle, I need to get eyes on NAI 1, 2, and 3 as quickly as possible so this initial formation (1st Platoon) will act as my reconnaissance force.
Once I have an idea as to how the enemy is deploying I can then Decide how to Act. Once a decision has been made there must be no hesitation, act aggressively and with confidence in the decision.
I can make some assumptions:
- Assumption 1: The enemy will attempt to seize the village. This is a sure bet, as it is the main objective for this scenario, for both sides.
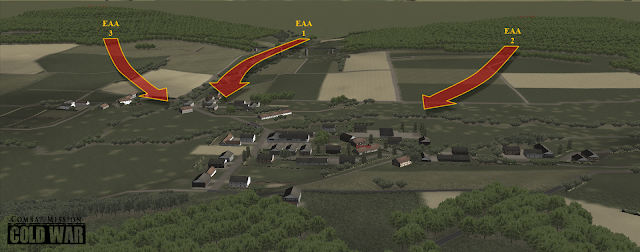
- Assumption 2: The enemy will advance down EAA1 towards the village. Another safe assumption due to the masked movement corridor this avenue presents.
- Assumption 3: The enemy will build a SBF position close to either NAI2 or NAI3, or both. Reasoning is that both of these positions can provide excellent flank support to the main effort, probably moving through EAA1.
Reconnaissance Plan: In order to get eyes on the enemy I need to close the distance as soon as possible.
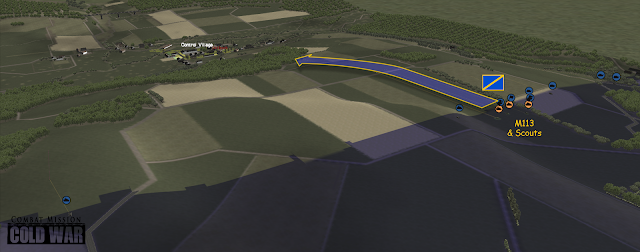
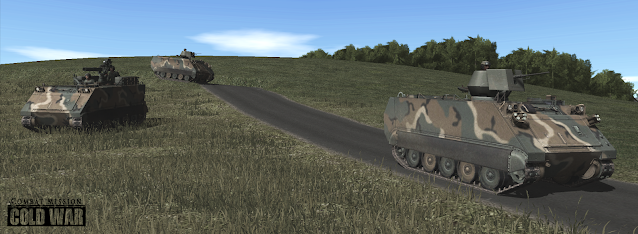
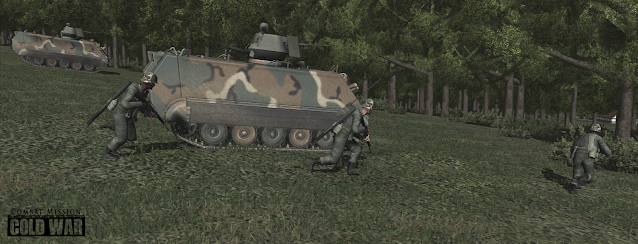
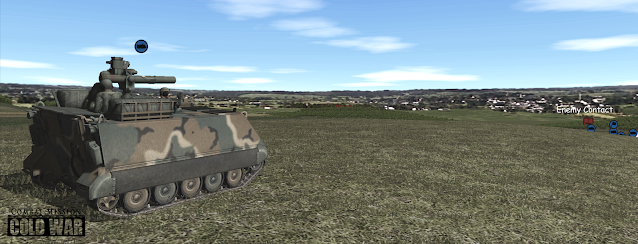
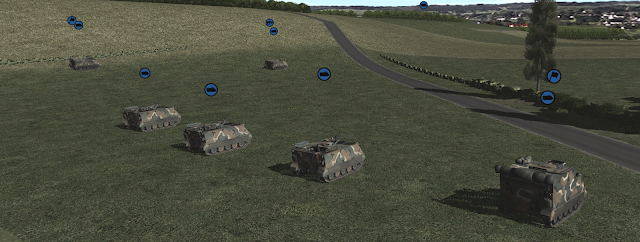
Scouts: My main recon force will be the three M113s, Scout teams and the Platoon HQ team. Which will rush toward Dolbach, dismount prior to entering, and creep forward as far as possible. These are not expendable units, I want them alive and capable to help in a later phase.
CMCW Feature: New to Cold War, US Scout teams all have the ability to call for fire.
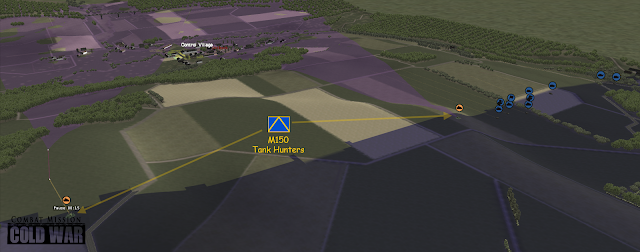
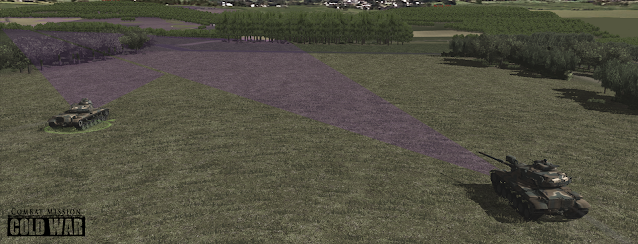
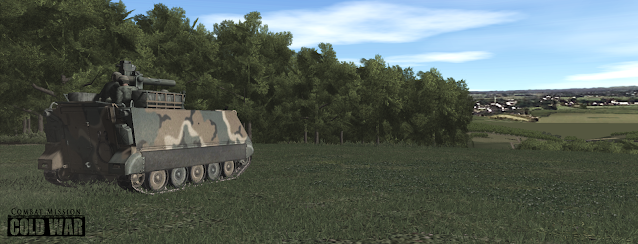
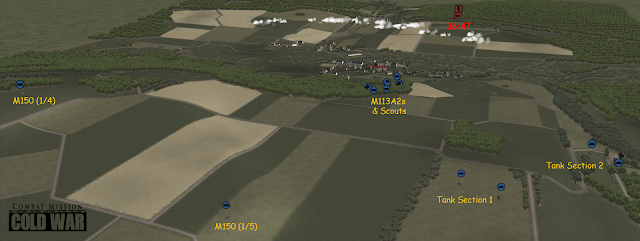
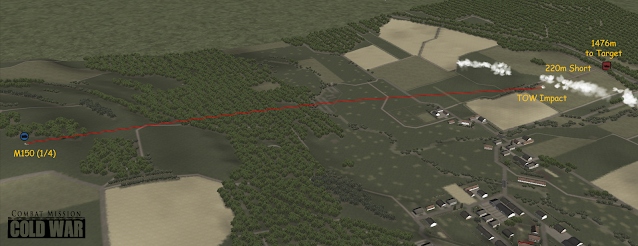
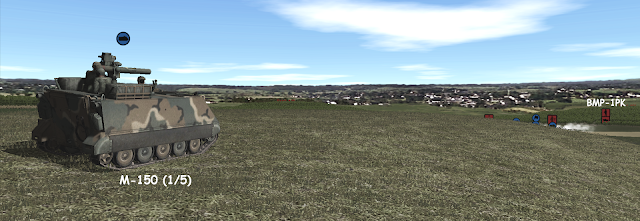
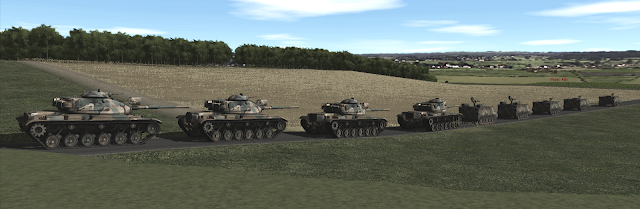
Overwatch: The two M-150 TOW vehicles will provide long range overwatch from the ridge. Their visibility from up there is suspect and I am pessimistic as to the level of fire they will be able to place on the enemy.
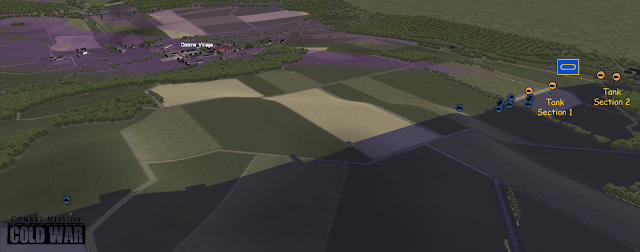
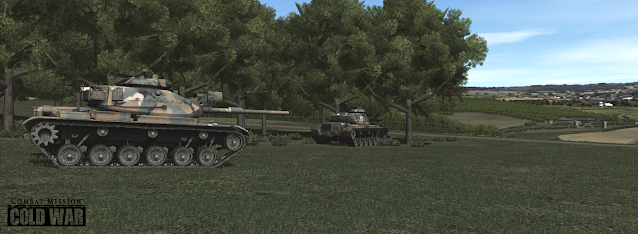
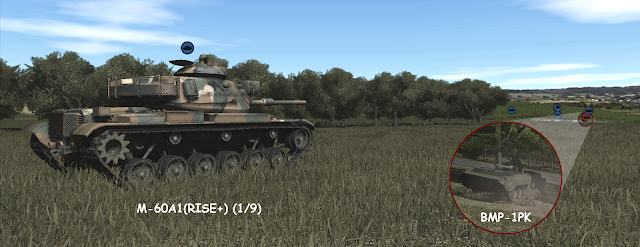
Overwatch/Support by Fire: Split into two, two-tank teams the M-60A1(Rise+) tanks will be on the extreme right flank providing Support by Fire and Overwatch for the M113s. Their goal will be to shadow the M113s and to interdict any enemy vehicles they can.
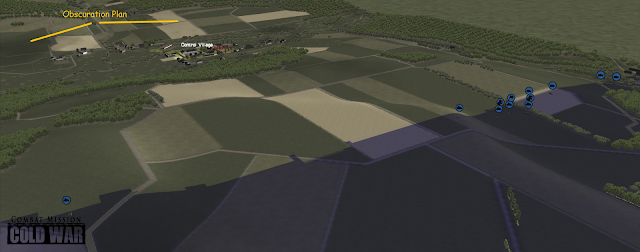
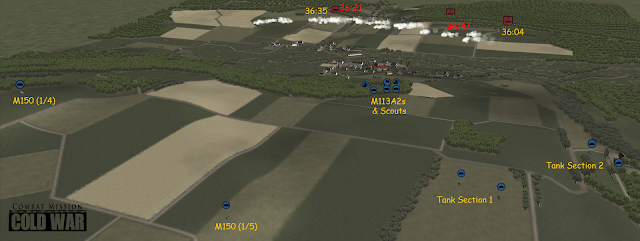
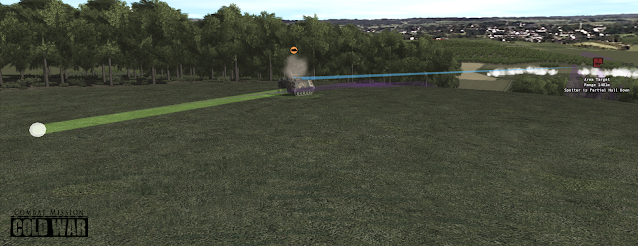
Obscuration: My two Howitzer batteries will be laying down a quick smoke screen in front of the enemy in order to, hopefully, decrease his ability to engage any of my moving units. Also this is meant to increase the difficulty of the enemy spotting and any shots the Soviets may attempt.
Intent: The intent and goal for this initial phase is to answer as many of the PIRs as possible prior to the initial reinforcement wave (5 minutes). They are not to get decisively engaged or do anything stupid that will force them to suffer casualties. Force preservation is key, especially for the tanks and the M-150s.
Bil
_____________________________
|
 Printable Version
 Combat Mission Cold War - BETA AAR/US Side - Battle of ... -


 New Messages
 No New Messages
 Hot Topic w/ New Messages
 Hot Topic w/o New Messages
 Locked w/ New Messages
 Locked w/o New Messages
 Post New Thread